Plot style
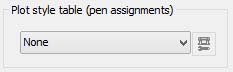
Plot style table (pen assignments):
With AutoCAD you can assign for each color used in the design a different thickness on the print.
To do this you use the table for the print style "plot style table"
To do this you use the table for the print style "plot style table"
Clicking on the arrow that opens the drop-down menu of the plot styles we see that there are some.
Each plot style corresponds to a
file, these files are installed with Autocad in specific folders, and
we can also create others.
Now select style "acad.ctb" the fact that
you turn the key on the side . We will open this and click the "Polt
style table" (Table print style).
Select -acad.ctb- , after that the following button turn active .
.
Click on this will open the “Plot Style Table Editor ”.
Select -acad.ctb- , after that the following button turn active
Click on this will open the “Plot Style Table Editor ”.
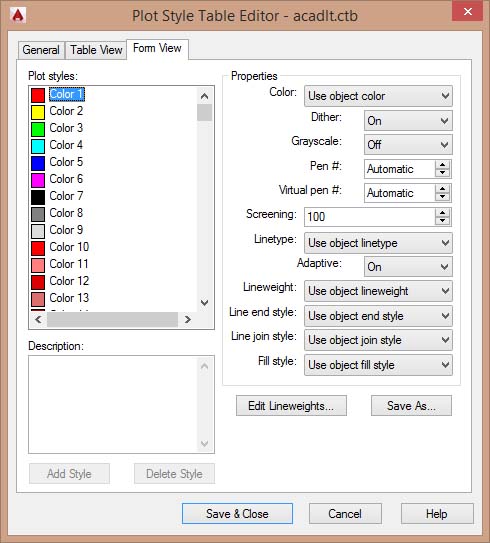
This should already show the table "form view" otherwise select it, then we will have the table as the image above.
On this table we can scroll to the left of all the 255 basic colors available.
You can select a color then set different settings in the voices on the right of the window, of the color selected.
Color:
Dither:
etc..
On this table we can scroll to the left of all the 255 basic colors available.
You can select a color then set different settings in the voices on the right of the window, of the color selected.
Color:
Dither:
etc..
For the moment we are concerned the item "color" and "Lineweight" (color and line thickness)
Under "color" we open a drop-down menu where we can choose (for any color selected on left) if use the original color or another different.
When we print, a displayed color in Autocad will be printed with the color setted here.
This is useful because it allows us for example to use different colors in the design and then print them all in black on paper.
To do this, then set for the colors we want, the color black in the window of the "plot style".
If we select the plot style "monochrome.ctb" we shall see that all the colors are already set in this way.
Under "lineweight" is another drop-down menu by which many present select a thickness between 0.1 - 0.2 - 0.5 and so on.
Next, select for each color we're interested in (usually the first seven) and that we used in the design, different thicknesses based on what we want more or less highlight on the printed design.
These settings do not change the thickness of the lines on the screen but only in the print, and since being contained in a separate file, can be called upon to print each AutoCAD drawing file.
Once set at will the color thickness you can click the button "Save & Close" to overwrite the plot style "acad.ctb" or better yet, do click on "save as" to save a new plot files with our custom style and after click on "Save & Close" to close the plot style window.
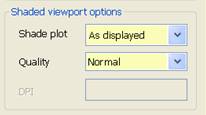
Shaded viewport options:
In the following leave everything unchanged:
Shade plot = As displayed
Quality = Normal
Shade plot = As displayed
Quality = Normal
Plot options:
Set plot options as in the following image:
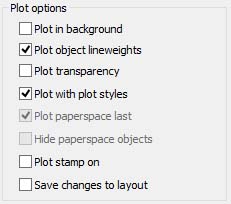
Checking the "Plot with plot styles" set
the program to use the plot style file that we previously selected,
with the appropriate settings for the thickness of the lines.
Drawing orientation:
Finally, under Drawing orientation will
set selected area to be print in vertical or horizontal, "portrait
or landscape", respect to the sheet.
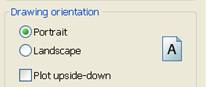
In the icon of the paper, the " A " in the center represents the design and then its orientation respect to the sheet.
By choosing one of this settings we will see this "A" change the orientation relative to the sheet below.
By choosing one of this settings we will see this "A" change the orientation relative to the sheet below.


0 comments:
Post a Comment